Perfect 1920s Recipe For Chocolate Cake
Chocolate cake is a beloved dessert that has evolved through the years, delighting generations with its rich flavor and smooth texture. However, if you’re interested in making a truly nostalgic cake that takes you back to the early 20th century, a 1920s recipe for chocolate cake is an exciting way to experience chocolate cake history. This recipe has been passed down through generations and boasts a rich, old-fashioned charm. Here’s a step-by-step guide to help you recreate the classic dessert.
Table of Contents
Essential Ingredients:
- All-purpose flour – 1 ¾ cups
- Granulated sugar – 1 ½ cups
- Unsweetened cocoa powder – ¾ cup (preferably Dutch-processed for a richer flavor)
- Baking powder – 1 ½ teaspoons
- Baking soda – 1 teaspoon
- Salt – ½ teaspoon
- Buttermilk – 1 cup (For the authentic taste of vintage chocolate cakes, buttermilk is crucial)
- Vegetable oil – ½ cup
- Eggs – 2 large eggs (Room temperature)
- Vanilla extract – 1 teaspoon (To give a deeper flavor)
- Boiling water – 1 cup (This ingredient helps make the batter smooth and lighter)
For the frosting, the classic chocolate buttercream or a simple chocolate ganache was often used in the 1920s.
- Unsalted butter – 1 cup (softened)
- Powdered sugar – 4 cups
- Cocoa powder – ½ cup
- Vanilla extract – 1 teaspoon
- Milk – 3-4 tablespoons (adjust to desired consistency)
Detailed Instructions for Preparing the Cake
Now that you have the ingredients ready, let’s go step by step to make this historic chocolate cake recipe.
- Step 1: Prepare the Oven and Pans
- Preheat your oven to 350°F (175°C). Grease and flour two 9-inch round cake pans, or line them with parchment paper. Greasing the pans ensures that the cakes come out easily, and parchment paper helps with a smooth finish on the cake.
- Step 2: Mix the Dry Ingredients
- In a medium bowl, sift the flour, cocoa powder, baking powder, baking soda, and salt together. Sifting removes any clumps in the cocoa powder and ensures even distribution of dry ingredients, which contributes to a light and fluffy cake.
- Step 3: Mix the Wet Ingredients
- In a separate large mixing bowl, whisk together the sugar, eggs, buttermilk, vegetable oil, and vanilla extract. Beat them until they are smooth and well combined.
- Step 4: Combine Wet and Dry Ingredients
- Gradually add the dry ingredients to the wet mixture, mixing gently with a spatula or a hand mixer. Mix until just combined. Be careful not to overmix the batter, as this could result in a dense cake.
- Step 5: Add Boiling Water
- Slowly stir in the boiling water. The batter will be thin, but that’s completely fine! The boiling water helps the cake bake to a soft, moist texture, which was characteristic of cakes from the 1920s recipe for chocolate cake.
- Step 6: Bake the Cake
- Evenly divide the batter between the prepared cake pans and bake for 30 to 35 minutes, or until a toothpick inserted into the center comes out clean. Allow the cakes to cool in the pans for 10 minutes, then transfer them to a wire rack to cool completely.
- Step 7: Frost the Cake
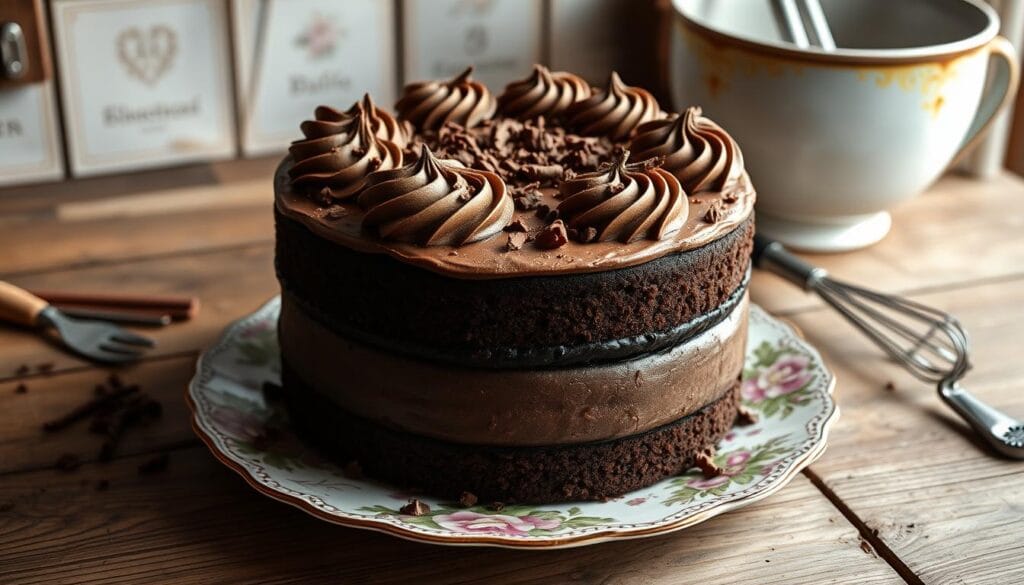
- Once the cakes have cooled, you can frost them with your preferred frosting. For a vintage touch, make a rich chocolate buttercream or pour a smooth chocolate ganache over the cake. Spread the frosting evenly, covering the top and sides of the cake.
For a classic 1920s chocolate cake, remember the difference between old and new ovens. Modern ovens are precise but miss the smoky taste of wood-fired ones. To fix this, use high-quality cocoa powder or a bit of espresso to boost flavor.
Tips to Ensure Success
Making a classic 1920s chocolate cake doesn’t have to be difficult if you follow these tips for success:
- Use Room Temperature Ingredients: Make sure your eggs, buttermilk, and butter are at room temperature before mixing. This ensures better emulsification, resulting in a smoother batter and more consistent cake texture.
- Sift Dry Ingredients: Sifting the dry ingredients helps to eliminate clumps, particularly in the cocoa powder. This step can prevent a lumpy batter and results in an even texture in the cake.
- Do Not Overmix: Overmixing the batter can cause the cake to become dense. Stir just until everything is combined for a light, fluffy result.
- Check the Cake Early: Ovens can vary, so check your cake a few minutes before the suggested baking time. When a toothpick comes out clean, your cake is ready to be removed.


Common Problems and How to Fix Them
Making an old-fashioned cake may bring some challenges, but with these solutions, you can overcome them with ease:
- Problem 1: Dry Cake
- This can happen if the cake is overbaked or too much flour is added. Ensure that you are measuring your flour correctly by using the spoon-and-level method rather than scooping it directly with the measuring cup.
- Solution: Bake the cake until a toothpick inserted into the center comes out clean. For moisture, you can also brush the layers with a little bit of simple syrup or milk before frosting.
- Problem 2: Lumpy Frosting
- Lumpy frosting may be caused by powdered sugar not being sifted or butter that’s too cold.
- Solution: Sift your powdered sugar before adding it to the butter. Also, make sure that the butter is softened to room temperature so it blends more smoothly.
- Problem 3: Uneven Cake Layers
- If your cake layers are uneven or domed, it could be due to incorrect oven temperature or uneven batter distribution.
- Solution: Invest in an oven thermometer to ensure it’s heating correctly. Also, try leveling your cake batter in the pan before baking.
Creative Ways to Decorate Your Cake
While this old-fashioned chocolate cake recipe is perfect on its own, you can make it even more special with some creative decorating ideas:
- Chocolate Shavings or Curls: For a refined vintage touch, garnish the cake with chocolate shavings or curls. These can be made by running a vegetable peeler over a block of chocolate.
- Fruit Garnish: Fresh raspberries or strawberries on top of the frosted cake can add a pop of color and an interesting flavor contrast.
- Whipped Cream: For a lighter finish, pipe whipped cream around the edge of the cake for a soft, nostalgic look.
- Nuts: Chopped walnuts or pecans can be sprinkled on the sides of the cake, enhancing the texture and flavor.


Storage and Reheating Tips
To make your vintage chocolate cake recipe last longer, proper storage is key.
- Storage: Store any leftover cake in an airtight container at room temperature for up to 3 days. If you want to keep it longer, wrap it in plastic wrap and refrigerate for up to 5 days.
- Freezing: You can also freeze the un-frosted cake layers. Wrap the cakes tightly in plastic wrap and foil, then store them in the freezer for up to 3 months. Thaw in the refrigerator before frosting and serving.
- Reheating: To reheat, slice the cake and microwave it for 15-20 seconds for a warm treat. If you want to keep the cake moist, place a damp paper towel over the slice before microwaving.
Nutrition Information (Per Serving)
A slice of this rich historic chocolate cake recipe is a treat for your taste buds! Here’s the approximate nutrition information per slice (based on 12 servings):
- Calories: 350-400
- Fat: 18g
- Carbohydrates: 50g
- Protein: 4g
- Sugar: 35g
Keep in mind that the frosting will increase the calorie count, so feel free to adjust based on your dietary preferences.


Conclusion
This 1920s recipe for chocolate cake takes us back to a time when desserts were made with care and simple ingredients. The result is a classic, moist, and chocolatey cake that’s perfect for any occasion. Whether you’re making it for a vintage-themed party, a special occasion, or simply to experience history through food, this old-fashioned chocolate cake recipe will leave you craving more. Enjoy it with a cup of tea or coffee, and share it with family and friends!
This 1920s recipe for chocolate cake combines historical charm with a timeless flavor, making it a perfect addition to your baking repertoire. By following the steps outlined and using the tips provided, you’ll be able to create a cake that’s both delicious and nostalgic.
Make sure to test this recipe and enjoy the rich flavor of the 1920s chocolate cake. You can explore even more creative variations of this recipe by experimenting with frosting and garnishing techniques!
FAQ
What is the significance of the 1920s recipe for chocolate cake?
The 1920s chocolate cake recipe is important because it shows how baking at home became popular. It also shows how chocolate went from a rare treat to something everyone could enjoy during the Roaring Twenties.
What makes this recipe an enduring classic?
This recipe has lasted because it’s easy to make and tastes great. It was created in a time when baking was a big part of life. This makes it a favorite among bakers and dessert lovers today.
What vintage tools and equipment are needed to recreate an authentic 1920s recipe for chocolate cake?
To make a real 1920s chocolate cake, you need old tools like vintage bowls and mixers. You also need traditional pans. We’ll look at these tools and compare them to what we use today.
How do the ingredients in the 1920s recipe for chocolate cake differ from modern recipes?
The 1920s recipe uses ingredients that might be harder to find today. We’ll suggest substitutes to keep the recipe true to its roots.
What are the essential steps for mixing the 1920s recipe for chocolate cake batter?
Mixing the batter right is key for a good cake. We’ll talk about the importance of temperature, old-school mixing, and mistakes to avoid.
How can I ensure my 1920s chocolate cake turns out perfectly baked?
To bake the cake just right, pay attention to oven temperature and time. We’ll also cover how to check if it’s done the old way. And we’ll give tips for using modern ovens.
What types of frosting and decorations were popular in the 1920s?
Back then, classic chocolate buttercream was all the rage. We’ll look at real frosting recipes and decorating styles from the 1920s. This will help you make a cake that looks as good as it tastes.
How can I serve and store my 1920s chocolate cake?
You can serve and store the cake in old-fashioned ways or modern ones. We’ll give tips on serving dishes, garnishes, and storage to keep the cake fresh and tasty.
Can I adapt the 1920s recipe for chocolate cake to meet modern dietary needs?
Yes, you can make the cake gluten-free and dairy-free while keeping its true taste and texture. We’ll show you how to adjust the recipe and make it bigger or smaller.
Have You Tried Our Recipe?
i tried this recipe and i like it
This recipe is absolutely fantastic! The flavors come together perfectly, and it’s so easy to follow. A delicious meal that’s sure to impress – definitely a keeper!

